
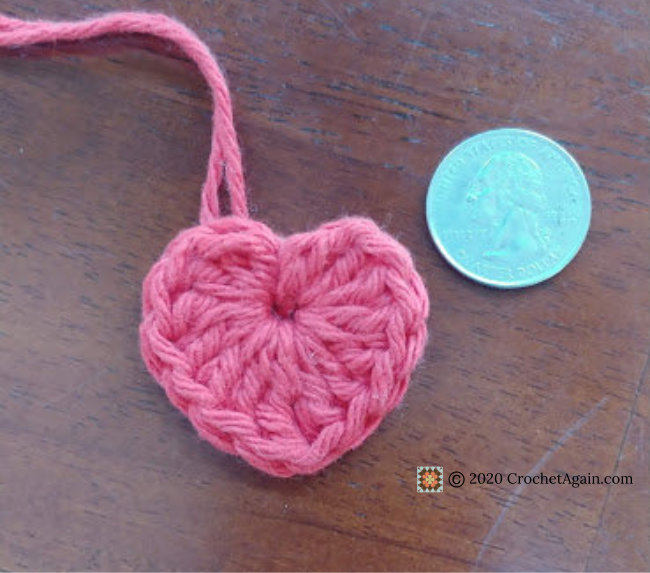
A teeny little heart to make your something a little extra special. This heart, or one of my granny square hearts could be a nice touch on many things. I like to add one to a corner of any blankets I make.

A teeny little heart to make your something a little extra special. This heart, or one of my granny square hearts could be a nice touch on many things. I like to add one to a corner of any blankets I make.

A bag to tote my yarn for wip’s with plenty of color. A wide base, so skeins fit in comfortably – can’t have my yarn being uncomfortable! I used leftover yarn for lots of colorful stripes. The finished bag measures approximately 22″ w x 11″ h.

Over the years I have made some tweaks and changes when I use A Better Granny Rectangle. I thought it was time to share those changes in a new post. There are 2 versions included here.
Continue reading “A Better Granny Rectangle Revisited”My current work in progress. I have been thinking about a new mitered blanket for some time. I was inspired by some vintage ones I had seen where each motif abutted the others without a border around. I liked the look of that. I tried making them in single or double crochet rows same as the ones I had seen, but didn’t hit on anything that really satisfied me. Every now and then I would see another on the web somewhere and I would want to make one again.
I ended up with a variation of my mitered granny square. I did some tweaking of the pattern so it worked more neatly, which is needed since I won’t have the border around each square to hide any untidiness. I like the results!
I changed the pattern for the squares a little bit from the original one. Continue reading “Mitered Granny Square v2.1”
I don’t know about you, but I find Pinterest a bit addicting. So I thought I might spread that around a bit, and sometimes post about things I find there. Today I started my morning off with a laugh…

Nothing like a bit of a cat butt coaster to go with your coffee! I doubt I would have seen these if it weren’t for Pinterest!
I had planned on working out how to make some little triangle shaped chickens, perhaps something like these cutie pies, but I never did.

Now I don’t have to, because Petals to Picots has a tutorial on how to make these incredibly adorable bean bag chickens. I may need half a dozen of them : )
Almost done, just need to weave in the ends for the gray border and multi-colored edging. It was too cold outside for me to want to take any photos out there (in the teens for the high and windy!), so I had to take them next to the sunny kitchen window. Not room enough for a full view.
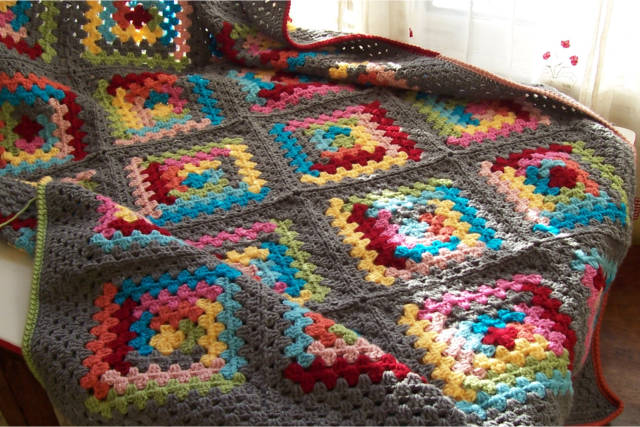
I made 20 of the log cabin granny squares, and then did 2 rounds in gray around each square, joining them join as you go in the last round. After joining the squares, I went around the whole blanket with 4 rounds of gray. Then I did 1 round in gray of single crochet, crocheting into the chains on each corner space, with 3 sc in the center chain (not in the chain 3 space, in the individual chain stitches).
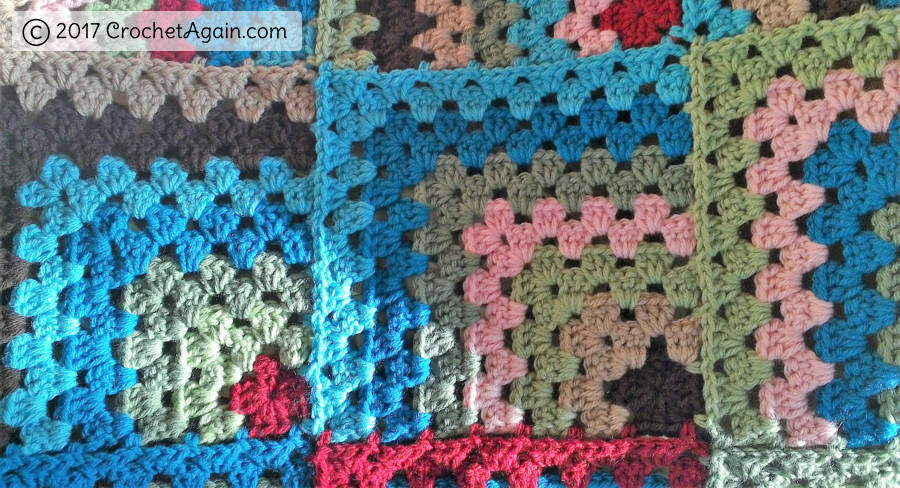
Then I did 1 sc round changing colors as I went so I had some of each color. I didn’t end off when I changed colors, which was a bit of a pain to have all those attached, but I could pick them back up when I did my final round of reverse single crochet (also called crab stitch). I like the kind of edge that stitch makes, it looks nice and finished. Here is a closer look at the edging (front and back)…

Here is a quick tutorial on how I am going about my Log Cabin squares, it is just a variation of a typical granny square (please let me know if you see any mistakes in the directions)…
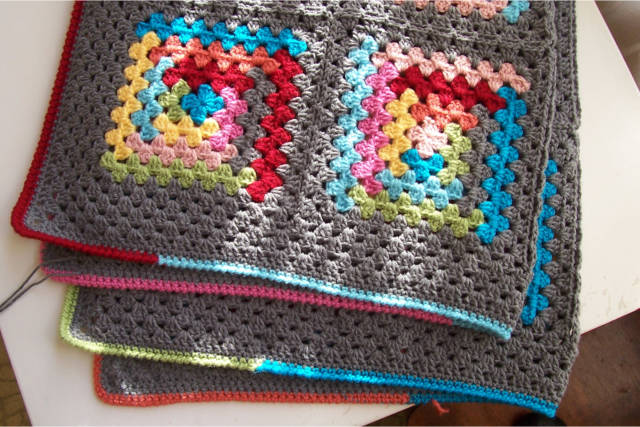
Update (and update corrected): post with pics of the finished Gray Area Log Cabin Blanket which shows what I did with the border, for an estimate of the yarn used, go to the Log Cabin Blanket post.
Start with a sliding ring, and make a 1 round granny square. To do that, in the sliding ring you ch3 (counts as 1st dc) 2dc in the ring, [ch3, 3dc in the ring]3 times.

End with a ch3, tighten the loop, slpst into the top of the first ch3. End off.
I like making blankets in the winter, once they get large enough they help keep you warm while you work on them! I had been thinking of doing a log cabin motif for quite a while, and I had bought more yarn than I needed for the baby blanket I made for my granddaughter. Perfect excuse to make a colorful blanket for myself, so what if it doesn’t match my living room, can’t let all that yarn go to waste!
Update: wanted to note how much yarn. Had less than one ball of each color. 2 balls of red (just barely over 1 ball) and 4 balls of the gray.

I have also been itching to make a blanket with gray, I really like how colors look with gray and I think it makes the colors look more grown up. I also added some cranberry, I really like red!
Here is my log cabin motif…(I forgot to include the darker blue in the yarn picture, at least it is in this one). I haven’t made a diagram for this one yet.

I was thinking of doing variations of the log cabin, so it was a bit of a sampler blanket, but I didn’t end up liking the ones I tried. There wasn’t anything wrong with them, I just felt like it didn’t really add anything, the regular log cabin was good by itself. They are rather busy, so I think sticking to the one kind of motif is the right choice.
I am liking that they are square, but not square looking with just the stripes of color. I decided to put a little of the gray in each so it isn’t just in the background. I like the gray a lot, reminds me of soft, warm sweatshirts. Warm is something we have a lack of right now (went below zero Fahrenheit last night! brrrrr)
Happy New Year! A peek at last year while I look forward to what the new year will bring.


