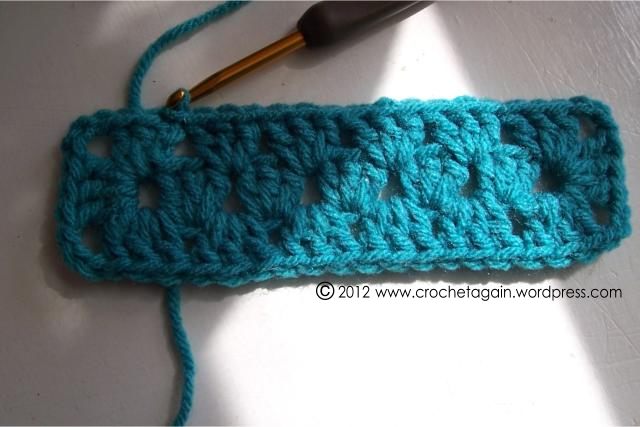
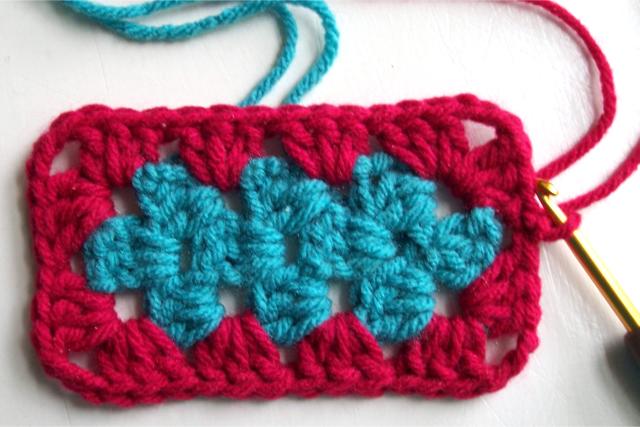
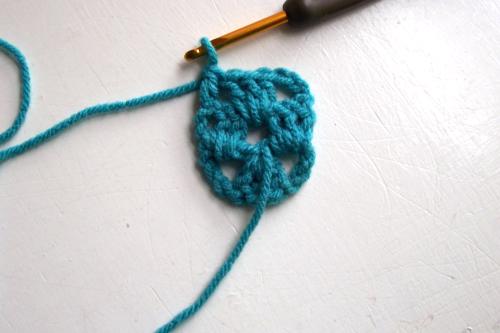
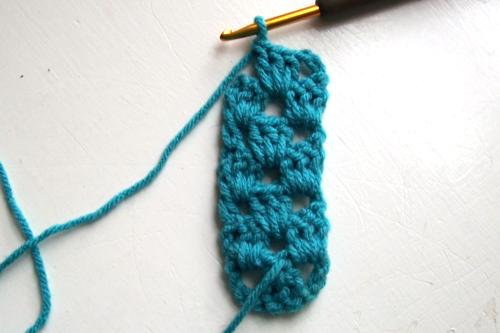
Over the years I have made some tweaks and changes when I use A Better Granny Rectangle. I thought it was time to share those changes in a new post. There are 2 versions included here.
Continue reading “A Better Granny Rectangle Revisited”Tag: rectangle
A Better Granny Rectangle
Well, I think it is better : ) As I said before, in my other Granny Rectangle post (I think this one is better), I have always been unsatisfied with how the center of granny rectangles line up in the middle, instead of alternating like it does in the rest of the fabric. It seems weaker and is not as pleasing to me, I just don’t like it : ) Don’t know why I didn’t do it this way the first time I got the idea, but at least I thought of it now.
A Better Granny Rectangle (or a variation) has been used to make:
Granny Rectangle Dog Mat (has a longer starting center)
Granny Rectangle Throw
Updates
2/9/17: I have a new post A Better Granny Rectangle Revisited. I have made some tweaks to how I do them since I first posted this and thought it deserved a new post. I include another version for doing them with 3dc, ch1.
1/17/17: I have added a Granny Rectangle V2.0 diagram (at the end of this article). This one has ch2 corners and ch1 in between the 3dc’s, to show that version of granny squares.
2/25/16: I have added another diagram that shows another round added so you can see how I continue on in the same color, it is near the end of the article.
For the size I did in the example:
Ch 22 Ch 21 (corrected 8-24-13)
In the 6th chain from the hook, 3dc.
Skip 2 stitches, 3dc in same stitch.
Continue across, skipping 2 and doing 3dc in the same stitch. When you reach the last ch, 1dc. Ch3 (counts as a dc)
In the space on the end created by the dc and foundation ch; 2dc, ch3, 3dc, ch3, 3dc. 2 corners on the end made.
3dc in each space between across…
At the next end; in the ch 5 space 3dc, ch3, 3dc, ch3, 3dc to make the corners on the other end.
Now, go across the other side, making 3dc in each space between…
Slpst into the top of the beginning ch3 and there you have it!
I find diagrams so helpful (pretend you don’t notice that I forgot the ending slpst in the diagram):
and another, to help with the maths of the repeats in case you want a different size…
Updated 2/25/16: Here is a diagram with another round of crochet added. To continue on, you would repeat as in the 2 rounds shown. Update: you can do ch2 in the corners if you find ch3’s are too much. Ch3 works fine for smaller projects, but ch2 would be better for larger items.
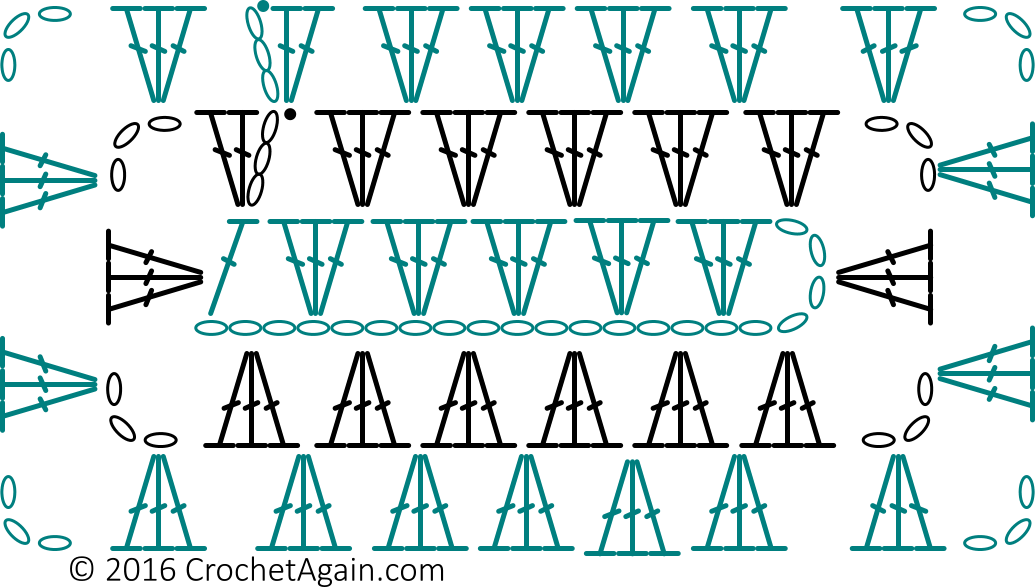
Update 1/17/17
This is A Better Granny Rectangle v2.0. The difference is ch2 on the corners and ch1 in between the 3dc’s. For those times you are using this to make a blanket and want to make your grannies with the ch1 between clusters. To change the size, adjust by 4 ch’s.
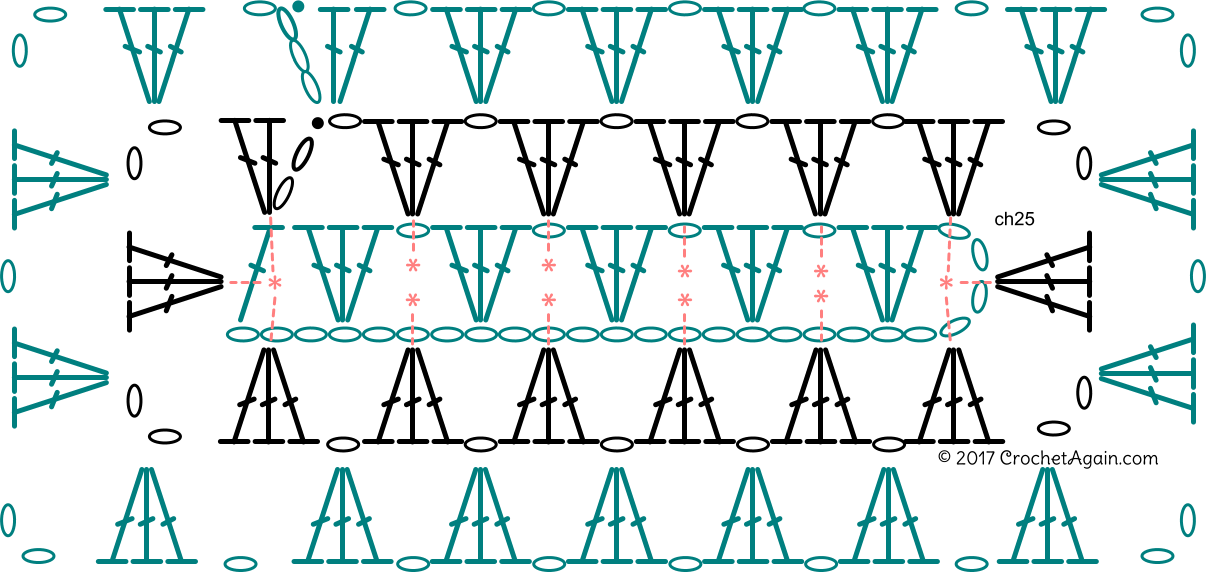
I am feeling that the added space in the starting chain in this 2.0 version is too much, not working as neat and tidy as I would like. Looks like this will be evolving even more, stay tuned!
Granny Rectangle Tutorial
Update
Please see my newer post A Better Granny Rectangle. It’s a different way of starting a rectangle, and obviously I think it is better, depending on what you want : )
I have been unsatisfied with how I was doing granny rectangles. I didn’t like how the center start didn’t match the rest of the fabric, where the clusters align instead of alternating and the starting chain is obvious. I thought of a different approach, I think I like how it turned out. This is my first tutorial, I hope it makes sense. if something isn’t clear please leave a comment and I’ll see if I can make it make sense : )
To Start
Make a sliding ring. Draw up a loop and ch 6(counts as dc, ch3), 3dc, ch3, dc in the ring.
Tighten up the ring and chain 3.
Rows
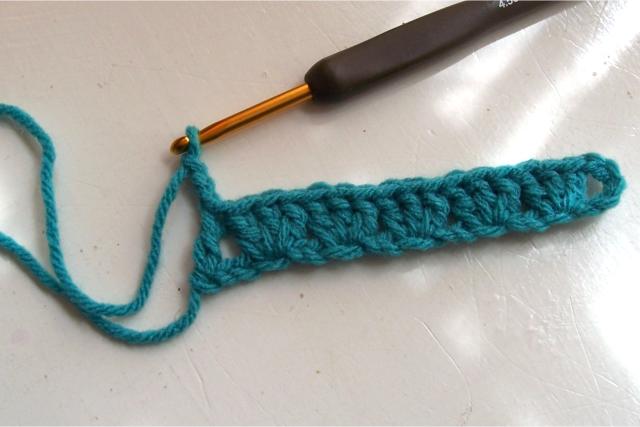
Turn, and work as a row on the bottom side with 2dc in the first ch space and 3dc in the next ch3 space. Ch3 and turn.
Make 3dc in the space between the 2 groups of 3dc of the previous row, and 1dc in the top of the ch3 of the previous row. Ch 3 and turn.
Continue working as rows, alternating with ch3, 3dc in next space, dc in the top of the ch3 of the previous row for 1 row and ch3, 2dc in the ch space, 3dc in the next ch space for the next row. Make however many rows you want, but you want to end with a row that has a center 3dc and a ch3/dc at each end.
I am going to change colors, so I am ending with a ch3 instead of a dc. That gives a consistent ch3 for each “corner” of my rectangle. If I was going to keep on with the same color, I would just do a dc, ch 3 for the round instead.
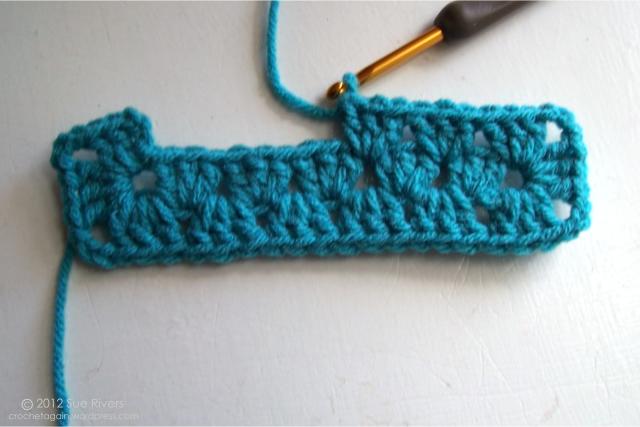
Slip stitch to the top of the ch3 of the previous row. End off. You now have a narrow rectangle of rows, with corner spaces.
Rounds
Attach a new color in a corner space with a dc (or slpst, ch3). 2dc, ch3, 3dc.
Continue around, doing 3dc along the side in the space between the 3dc’s of the rows and 3dc, ch3, 3dc in each corner space.
And there you have it, a crocheted granny rectangle.
