Sneak Peak

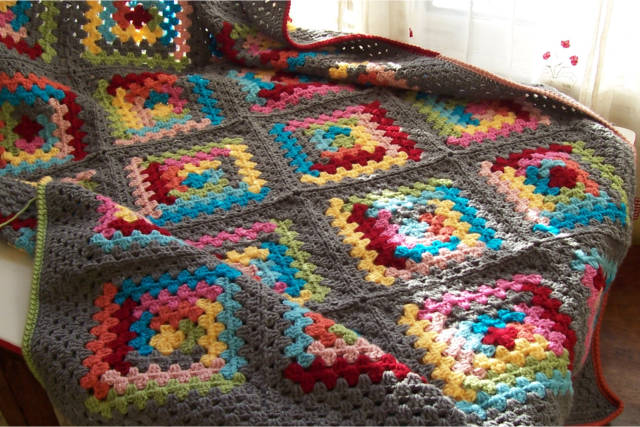
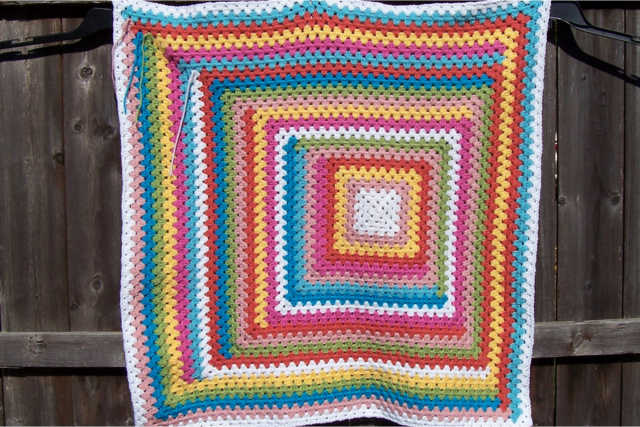
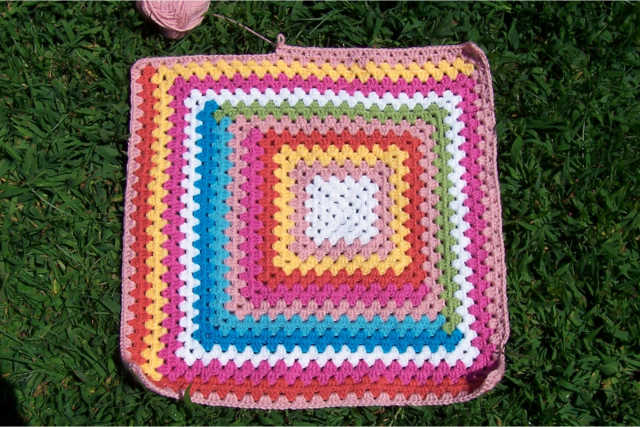
I have been itching to make a fall color throw for years.  The design just never quite got there, never quite hit on what it should be, other than in pretty fall colors.

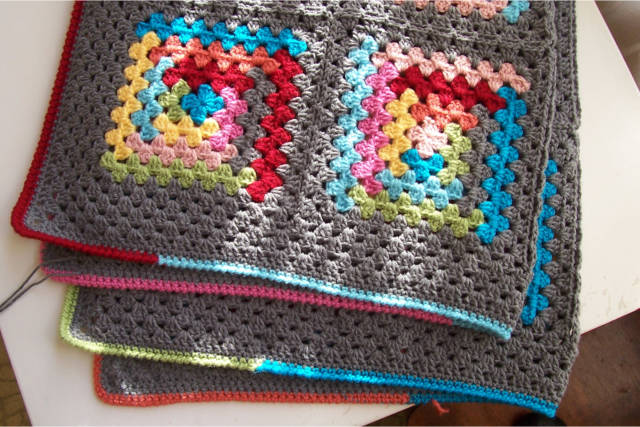
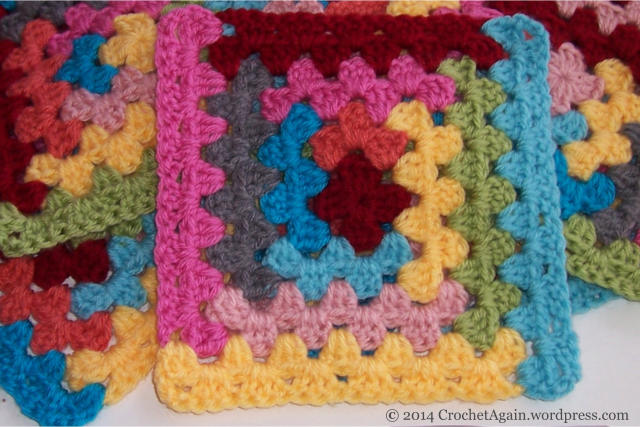
The design finally fell into place in my mind, it needed to be a Granny Rectangle.  I have been wanting to make a throw with the A Better Granny Rectangle technique, and have not done that.  Two birds and all that…

Another way to get those itchy fingers actually to work is to get a new crochet hook, this one is a Furl’s Odyssey.  So far, I am loving it.  Nicely made.  They do need to put the size on it somewhere though, that is a necessity it is lacking.  Since I only have the one, I think it will be okay.  No, it won’t, I will forget.  It is size H, there, it is here for posterity and absentmindedness (like I will remember where, exactly I posted the size!!).

And now I have actually started!  I think I have it to a pleasing (to me) proportion for a throw.  I will post the actual pattern at a future time.  For now, a photo will have to do.

SneakPeakGrannyRectangleBlanket

Advertisement

Gray Area Log Cabin Blanket

Almost done, just need to weave in the ends for the gray border and multi-colored edging.  It was too cold outside for me to want to take any photos out there (in the teens for the high and windy!), so I had to take them next to the sunny kitchen window.  Not room enough for a full view.

GrayArea_LogCabinBlanket1

I made 20 of the log cabin granny squares, and then did 2 rounds in gray around each square, joining them join as you go in the last round.  After joining the squares, I went around the whole blanket with 4 rounds of gray.  Then I did 1 round in gray of single crochet, crocheting into the chains on each corner space, with 3 sc in the center chain (not in the chain 3 space, in the individual chain stitches).

GrayArea_LogCabinBlanket2

Then I did 1 sc round changing colors as I went so I had some of each color.  I didn’t end off when I changed colors, which was a bit of a pain to have all those attached, but I could pick them back up when I did my final round of reverse single crochet (also called crab stitch).  I like the kind of edge that stitch makes, it looks nice and finished.  Here is a closer look at the edging (front and back)…

GrayArea_LogCabinBlanket3

Join As You Go

I have made all my Log Cabin squares and am now starting to join them together so I decided to do a quick tutorial on my favorite way of joining granny squares (of course, it took much more time than I had hoped!).  I am hoping to be clear and keep it simple, as it really isn’t that complicated, but it is often easy to make things sound more complicated than they are.

My squares are going to be bordered with two rounds of gray, and I held off on that until I was ready to start joining, so the first thing to do is complete the border on the first square in order to have one to join to.   The rest I will join as I am doing the second (last) round of the gray border.  (The photos show more than that joined together already). To help make it easier to see, I am doing the last round on this demonstration one in pink instead of gray.

I begin the joining in the corner, so crochet your last round up to the corner ch3 space, 3dc in the ch3 space as usual and then ch2 (I normally ch3 for each corner, this is one less ch, my attaching stitch will count as the 3rd).

JoinAsYouGo2

Now you are going to sc into the ch3 corner space of the square you are joining to. Make sure you have the wrong sides together (in other words, the right sides are outward and the wrong sides are inward).  Once you have attached to the other square with the sc, continue on crocheting 3dc in the corner of the square you are crocheting the border of. Continue reading “Join As You Go”

Log Cabin Granny Square

Here is a quick tutorial on how I am going about my Log Cabin squares, it is just a variation of a typical granny square (please let me know if you see any mistakes in the directions)…

Update (and update corrected):  post with pics of the finished Gray Area Log Cabin Blanket which shows what I did with the border, for an estimate of the yarn used, go to the Log Cabin Blanket post.

LogCabinGranny1

Start with a sliding ring, and make a 1 round granny square.  To do that, in the sliding ring you ch3 (counts as 1st dc) 2dc in the ring, [ch3, 3dc in the ring]3 times.

LogCabinGranny2

End with a ch3, tighten the loop, slpst into the top of the first ch3.  End off.

Continue reading “Log Cabin Granny Square”

Log Cabin Blanket

I like making blankets in the winter, once they get large enough they help keep you warm while you work on them!  I had been thinking of doing a log cabin motif for quite a while, and I had bought more yarn than I needed for the baby blanket I made for my granddaughter.  Perfect excuse to make a colorful blanket for myself, so what if it doesn’t match my living room, can’t let all that yarn go to waste!

Update:  wanted to note how much yarn.  Had less than one ball of each color. 2 balls of red (just barely over 1 ball) and 4 balls of the gray.

LogCabinCrochet_yarn

I have also been itching to make a blanket with gray, I really like how colors look with gray and I think it makes the colors look more grown up. I also added some cranberry, I really like red!

Here is my log cabin motif…(I forgot to include the darker blue in the yarn picture, at least it is in this one).  I haven’t made a diagram for this one yet.

LogCabinCrochet

I was thinking of doing variations of the log cabin, so it was a bit of a sampler blanket, but I didn’t end up liking the ones I tried.  There wasn’t anything wrong with them, I just felt like it didn’t really add anything, the regular log cabin was good by itself.  They are rather busy, so I think sticking to the one kind of motif is the right choice.

I am liking that they are square, but not square looking with just the stripes of color.  I decided to put a little of the gray in each so it isn’t just in the background.  I like the gray a lot, reminds me of soft, warm sweatshirts.  Warm is something we have a lack of right now (went below zero Fahrenheit last night! brrrrr)

close up of border

Baby Blanket Border and Ta Da!

It’s done!!  I decided to stick with simple for the border on my Hop, Skip and Jump baby blanket.  Rounds of single crochet randomly in the colors of the blanket.  I like how it looks and I like the different texture.

BabyBlanketTaDa

If I had to do it again (or had more time to re-do the border) I would do the border with a size or two larger hook than I used for the body of the blanket.  I didn’t tighten my tension, but the border turned out denser than I would prefer, it would work best if a bit looser.

close up of border

But, I was down to the wire!  Baby shower is tomorrow and I just weaved in my last end this morning!

Hop, Skip and Jump Baby Blanket

My baby blanket has grown, 31 inches square now!  I like how it has turned out.

HopSkipAndJumpBabyBlanket2

I am thinking on the border and can’t decide yet what to do.   I may have to just try a few ideas and see how it looks.  I think I will look at my book of edgings to get ideas!

New Blanket for New Baby

I am expecting my first grandchild, and have started the first baby blanket. I love the colors (the photo isn’t quite right, the light aqua is lighter, the light pink is peachier, the yellow nicer, the bright pink less purple-y, at least as it looks on my computer).  These are a few Vanna’s Choice (the darker Aqua and the lighter pink) and the rest are Vanna’s Choice Baby.

This is a combination of a regular granny square and my mitered granny, to make one large square blanket.  I really like how it is turning out so far, like a modern log cabin in a way.

Since receiving and crib blankets are small, I hope to do more than one blanket in these colors.  (and then there are all the other cute baby things to crochet!)

BabyBlanket

Granny Hearts

I got the idea to make a granny heart, I am not sure why, but once I did it wouldn’t leave my head.  It has been percolating in there for a while.  I figured I should just do it and get it out of there and unclutter my mind, and here is the result.

Update!  Key to what each symbol means is now included in the diagram.

SmallGrannyHeart

Continue reading “Granny Hearts”