
My daughter loved her blanket!

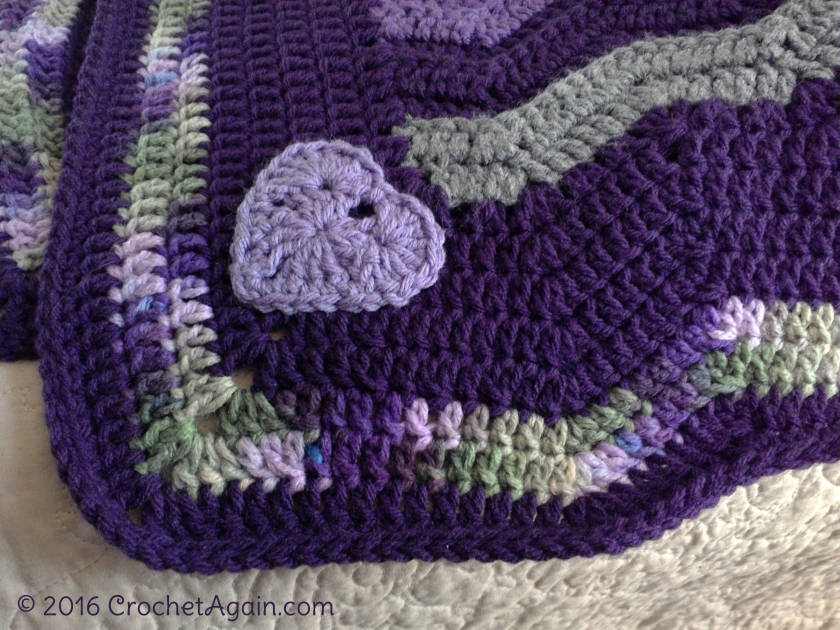
Here is a closer look at the border, (this photo is closer to the actual colors)…

and a look at the little granny heart I added on one corner, for a little extra love!
See here for the pattern: Restful Ripple.
For the border: when you are finishing up the last row, change colors to amethyst, the same way as you did in the body of the blanket.
On the sides, I made 2dc around each dc stitch (or ch3) on the edges. 2dc, ch2, go around to the next side, 2dc in same space for each corner. I followed the ripple pattern on the ends. For the starting end, where you have a peak instead of a valley for the ends of the rows, you will need to decease a stitch on each end instead of increasing, so I made dc2tog on the last 2 stitches.
The edges look like you are doing 2dc in the same space, so I wanted the rippled ends to have the same look. I made 2 or 3 dc in the same space, skipping a stitch in between. You want to keep the number of stitches along the slopes the same as in the ripple. I only did this on the first round of the border, the remaining rounds I dc in each stitch. 8 rounds of dc, switching to the ombre for 2 rounds. The very final round I slpst’d in each stitch around, which gives a bit thicker, rounder edge.

What a wonderful ripple blanket! It looks great now it’s finished. A lovely present for your daughter!
LikeLike
I have not been able to do the ripple only once in my life time so. Maybe this is the one.
LikeLike
Looks fantastic
LikeLike
I just love this pattern. Am going to make one for a fund raiser in red white and blue. Upper right side will be in blue with stars. For our vets. Thank you for sharing.
LikeLike