
Lots of tedious sewing and weaving of ends has been done! I don’t have a photo of the entire blanket, but you can get the feeling of it in these…

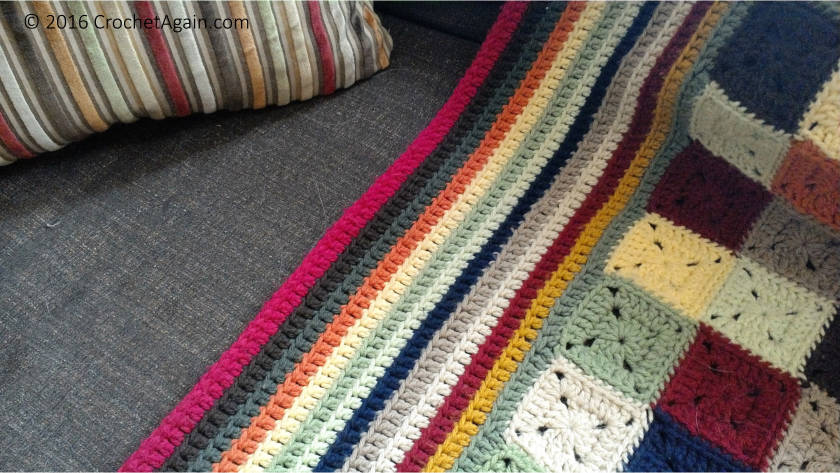
a bit closer look…
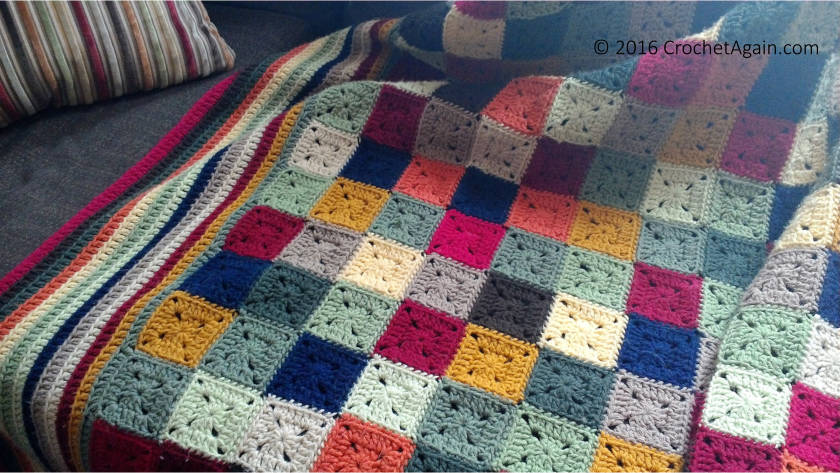
I had enough of each color to do a round for the border, so 13 rounds altogether. I like the wide border…
Overall, now that the work is done and the snuggling under is all that is left, I think it is one of my favorites. If I were to do another one, I might do it with a join as you go instead of sewing. Sewing all those little squares was tedious!
Directions including a diagram for the small, solid granny squares are here.
The border was done in the back loop only. I did a dc2tog across the space where the squares are sewn together, that kept the edge flat.
Edited to add: I also did a final round of slipstitch in the same color as the last round of dc, to give the edge a little bit more weight. I really liked how that turned out.
Edited to add: I knew I had a bit of a diagram for the border, finally found it (click to enlarge)!


You are my hero, and the Afghan is beautiful…Amanda
LikeLike
You are persistent. Well done!
LikeLike
It’s just gorgeous!
LikeLike
Your blanket is absolutely beautiful! I love granny squares and I love your border. Did you plan the colors out ahead of time or did you use stash. Regardless, I love the colors too. I guess I just love ALL of it! Thanks for sharing.
LikeLike
I used a lot of stash, but bought some new to go with those.
LikeLike
I Love making little granny squares and Yours are beautifully done. Great boarder idea… Thank You for sharing your talent. Wishing for you continued happy hooking!
LikeLike
I love those small squares and your blanket is lovely. I often wonder if the join as you go method is as solid over long-term use and various washes.
LikeLike
I don’t know how well they last by comparison, the jayg seems pretty sturdy with the larger squares I have done. I do know I like the join as you go better when you are doing the same color on the last round of each square. The stitch that joins is invisible then. With multicolor squares the stitch that joins is obvious.
LikeLike
Woooow. Beatiful!!!!
LikeLike
Beautiful and lots of time and effort has obviously gone into it. Sewing the ends in is always the worst bit…..
LikeLike
Simple and lovely, those are the best kind in my opinion! I did a similar small throw with 3 rounds vs your 2, some time back, re-learning my crochet techniques. I’ll have to blog about it one day.
LikeLike
WOWZA WOWZA WOWZA….. absolutely in LOVE with this one. I am a very beginner, have been doing a ton of research and watching a lot of videos on the granny square technique. You are my most inspiration so far🥰😍
LikeLike